Showing posts with label Rendering. Show all posts
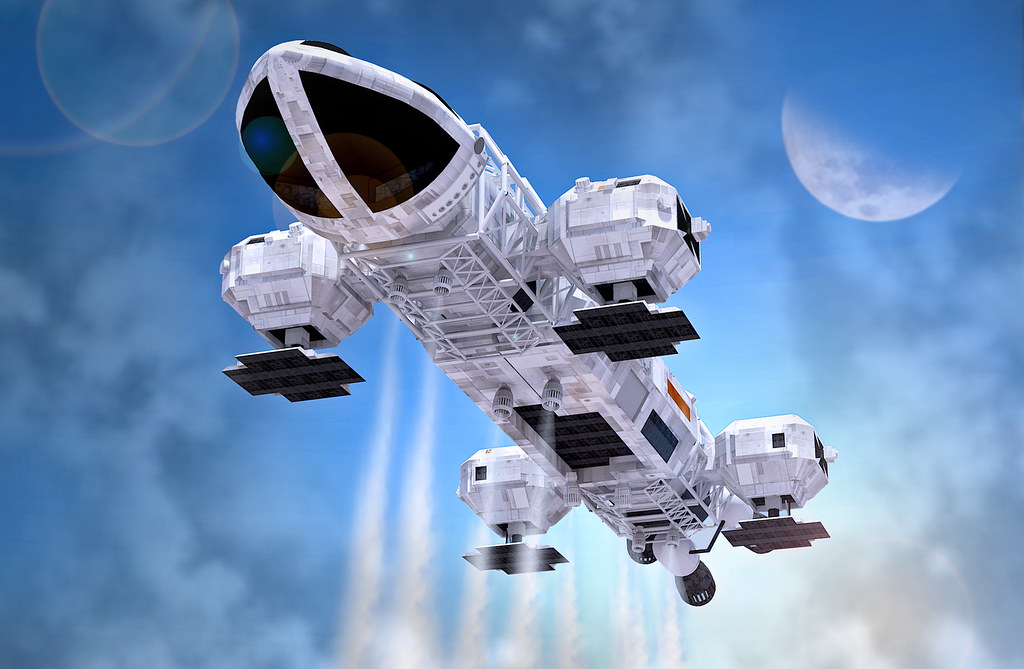
Eagle Transporter
Eagle Transporter from the TV show Space 1999 from my childhood. The model was taken from the 3D Warehouse. I then rendered it in Twilight and edited that in Photoshop Elements to add the moon, clouds, lens flares and jet contrails.
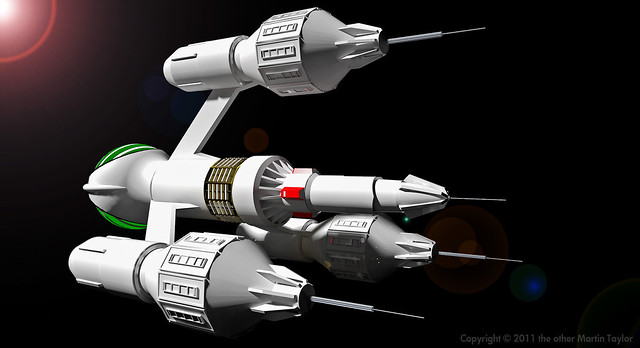
My Models: Liberator (Blake's 7)
Liberator (Blake's 7) a photo by the other Martin Taylor on Flickr.
SketchUp Twilight Renderer:Group's Default Material
If you look closely at the render in my last post you will notice something wrong with the fuel cells at the rear of the craft - admittedly you'd have to be really anal to notice but that's my job. The fuel cells are supposed to have a red background color with a white frame work and that is how they display natively in SketchUp:
However, in the Twilight render they displayed almost completely white like this:
The helpful people at the SketchUp Twilight forum suggested that this was because I had reversed faces in my component. The problem is that Twilight interprets the material at the front and therefore to be rendered very slightly differently than SketchUp itself.
![]() |
| Objects as SketchUp displays them |
![]() |
| Twilight render with issue: background of hexagon should be red |
It turns out it was slightly more complicated than that. To model as efficient as possible I have nested components:
-> Group of 7 components
|--> 1 Fuel Cell Component
|--> Hexagon Component
The reversed face was in the hexagon component which was painted red. The group of 7 components had a default color of white. Once I found a removed the default color from the larger group the hexagons started to paint correctly.
Of course, if I'd paid attention to reversed faces in the first place this wouldn't have been an issue. Also, if I hadn't accidentally given the group a default white color this wouldn't have happened either. This isn't a biggie but it took a while to find out what was going on but it is a lesson learned: keep your reversed faces in order to avoid problems or inconsistencies with materials later.
Adventures in Rendering: 2
It seems such a long time ago since I bought the Twilight renderer for SketchUp and played with it a little. I was slightly put off by the amount of time it takes to render a reasonably detailed image but I guess that's just the nature of the beast.
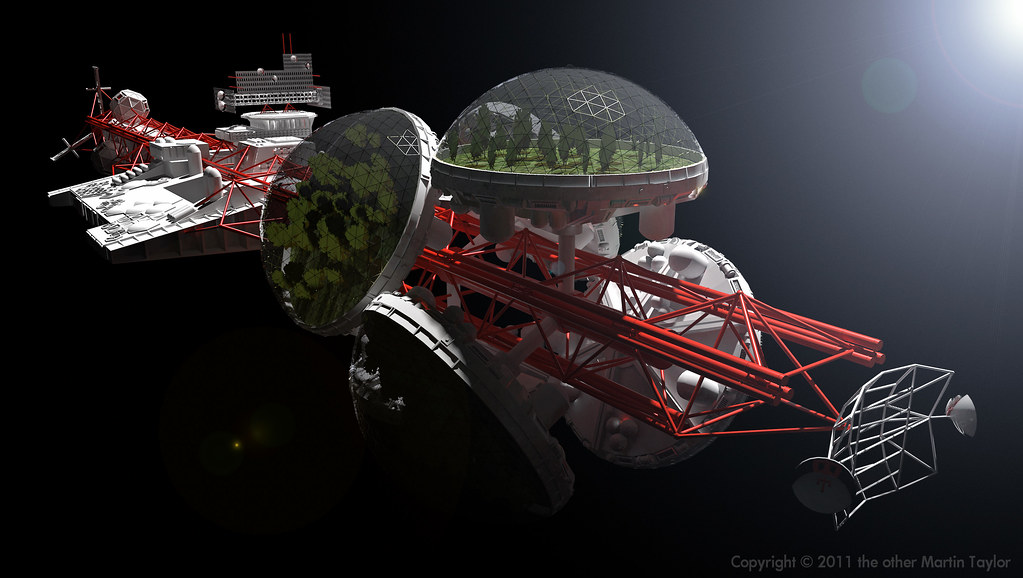
More than a year after starting a model of the Valley Forge from the 70's movie Silent Running I finally went back to it and finished it. After all the work it took me to complete it and the invaluable help I got from Taff Goch who is geodesic master I figured it was worth firing up Twilight once again. I have a reasonably powerful quad core 64 bit Windows machine and this render took about 2.5 hours using 100% of my CPU for most of that time. I added the lens flare in PhotoShop Elements 8 afterwards. I'm still learning about twilight and I've been given a few pointers from the Twilight forum that I will try to incorporate for more refined attempt but I think you'll see that it's worth the time and effort when you compare it to the 2D export direct from SketchUp
![]() |
| Twilight render of The Valley Forge |
![]() |
| Native SketchUp 2D Render |
Adventures in Rendering: 1
SketchUp is great for creating detailed models quickly but the output formats that come built into it are a little cartoon-y. In most situations they are great for getting an idea across but when you want to present your model in a slightly more photo-realistic format you are going to have to rely on a third-party rendering application or plugin.
To create renders of your SU models there are many options available. There are those that use an export of your model from SU and then render the image after further work on your part to describe the lighting and materials. There are those that work inside of SU itself allowing you to add lighting and material information and all other rendering settings and parameters within SU itself. I am not an expert but the former seem to be cheaper but have a much steeper learning curve than the later which, unfortunately, tend to be much more expensive. As a rendering newbie I wanted the simplicity of the rendering application hosted within SU itself but I wanted it at an affordable cost. Just at the right time for me the Twilight Renderer application was released: I couldn't pass up the simplicity of having the renderer withing SU for the affordable price of less than $60 (until September 24th).
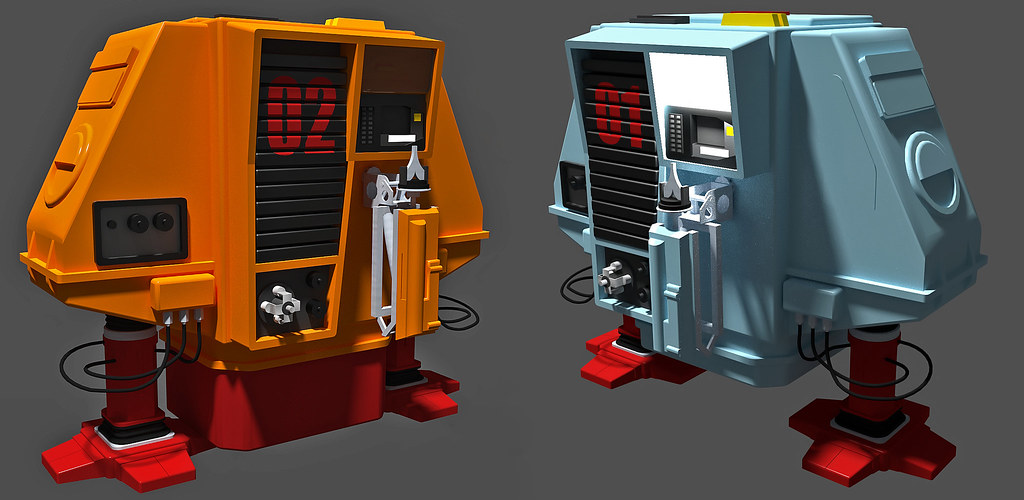
I've played with it a couple of times without even reading much of the documentation and I am getting some pretty nice images. I'm not really in control of everything yet but it looks like a fun utility and I don't have anything to compare it to but it seems relatively simple to use. I look forward to learning more about rendering but, until then, here's one of my first renders of a couple of models I worked on over the weekend - you have to be a big old Sci-Fi geek to know these guys:
Subscribe to:
Posts (Atom)